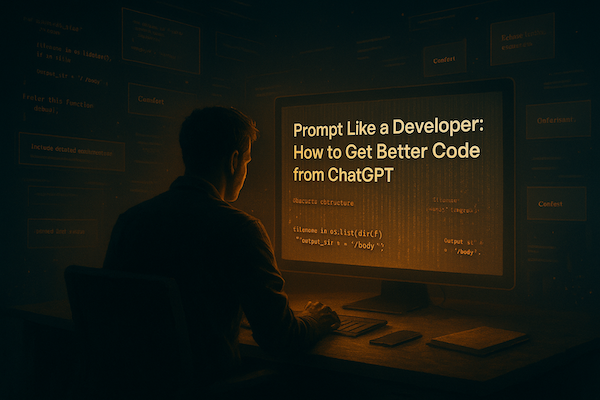
Build a Browser Text Adventure Game: A Step-by-Step Guide
Remember those old-school text adventure games? “You are standing in a dark room. Exits are north and west.” There’s something magical about letting your imagination fill in the gaps. There is definitely a loss of innocenece there.
Today, we’ll build one in the browser using only prompts. You’ll paste these into your AI coding assistant (Cursor/Copilot/ChatGPT/Codex), generate the files locally, and run it—all without pasting executable code here.
How to use this post
Copy each prompt below into your AI coding assistant in order. After each step, use the checklist to confirm your files look right before moving on.
0) Create your project folder
Start by creating a new blank folder on your computer where all your project files will live. You can name this folder something like text-adventure. This folder will serve as a clean, organized place to keep your HTML, CSS, and JavaScript files as you build your game.
Next, open this folder in Cursor, VS Code, or your preferred code editor so you’re ready to create your project files.
Once your folder is ready, move on to Step 1.
1) Set up the HTML skeleton
First, create the page shell.
Prompt 1: Create `index.html`
Generate a simple, accessible HTML file for a text adventure. Requirements:
- Dark background, light monospace text.
- Centered game container (max width ~600px).
- Two regions: `#story` (text log) and `.choices` (buttons or input UI).
- Include basic styles so buttons in `.choices` are full-width with vertical spacing.
- Include a `<script>` tag to load a separate JavaScript file named `game.js`.
- No external frameworks.
Checklist for Step 1
-
index.htmlcreated with proper HTML structure - Body uses dark theme and monospace font
- Centered container up to ~600px wide
- Has
#storyand.choicessections - Script tag loads
game.js
2) Craft the game world logic
Now, generate the core JavaScript that renders scenes and buttons.
Prompt 2: Create `game.js` (basic engine)
Write JavaScript for a simple text adventure with these features:
- Define a `scenes` object. Each scene has `text` and an array of `choices`.
- Each choice has `text` and a `next` key referencing another scene.
- Maintain `currentScene` (start at "start").
- Render function updates `#story` and injects buttons into `.choices`.
- Clicking a button updates `currentScene` and re-renders.
- Initialize the game by rendering the start scene.
Also include 4–6 example scenes so the game is immediately playable.
Checklist for Step 2
-
game.jscreated in the project root (or a./script folder referenced correctly) -
scenesobject defined with several playable scenes - Buttons appear and change the scene when clicked
- The game renders automatically on load
3) Understand the pattern
We define a bunch of scenes—each with some text and a list of choices. Each choice leads to another scene. When the player clicks a choice, we update the scene and re-render.
Why this structure? It’s easy to expand. You can add new rooms, NPCs, or endings by adding scenes and wiring their next keys.
Checklist for Step 3
- You see how scenes map to choices and next scenes
- You can add a new scene and link it from an existing one
4) Make it yours
Spice up the world with small but high-impact changes.
Prompt 3: Flavor and expansion
Modify `game.js` so that:
- You add at least two new scenes and one alternate ending.
- You introduce a simple item (e.g., a key) that unlocks a later choice.
- Provide synonyms for a couple of choice labels (e.g., support both "Offer snack" and "Give food").
- Add brief ambient text lines that vary each time the player visits a scene (randomized flavor).
Checklist for Step 4
- At least two new scenes
- One alternate ending path
- One simple item gating an option
- Some randomized flavor text
5) Next-level enhancements
Ready to add persistence and polish? Use these prompts.
Prompt 4: Save/Load
Add `save` and `load` features using `localStorage` so the player can restore progress. Provide a small UI (buttons or commands) to trigger save/load.
Prompt 5: Command history & keyboard UX
Add support for using the keyboard to navigate: Up/Down cycles recent choices or commands; Enter activates; Escape clears input.Prompt 6: Room art & mood
Give each scene an optional ASCII `art` block that renders above the text the first time the scene is visited. Add a subtle CSS treatment so it looks intentional.Prompt 7: Rooftop mini-arc
Add a new location "Rooftop" reachable from an existing area. Place a `flare` item there. If the player uses the flare on the rooftop, display a short 2–3 line ending with staggered timing to create drama.Checklist for Step 5
- Save/Load works with
localStorage - Arrow keys cycle recent inputs (or choices)
- Optional ASCII art renders on first visit
- Bonus Rooftop arc implemented
Vibe Prompt (again, for inspiration)
Prompt 8:
You are a friendly, creative, and slightly quirky software developer who loves classic games and playful storytelling. Keep the tone light and approachable while guiding readers to finish and polish their text adventure. Offer a short bullet list of next steps (NPCs, puzzles, branching endings, deploy instructions).
Final Thoughts
Building a text adventure is a great way to practice programming, flex creativity, and relive the glory days of interactive fiction—without getting tangled in heavy engines. Share your game, fork it, remix it. The only limit is your imagination (and maybe the dragon’s appetite). Happy adventuring!
👉 Want to see a live example? Play the Browser Adventure Game ↗